Xilisoft ISO Pro Tutorial
Xilisoft ISO Pro can make any files on hard disk or CD/DVD disc into ISO image file and edit ISO image file. Here is a step-by-step guide to show you how to make ISO image file from any files.
Download, install and launch Xilisoft ISO Pro.
How to make ISO image file from any files?
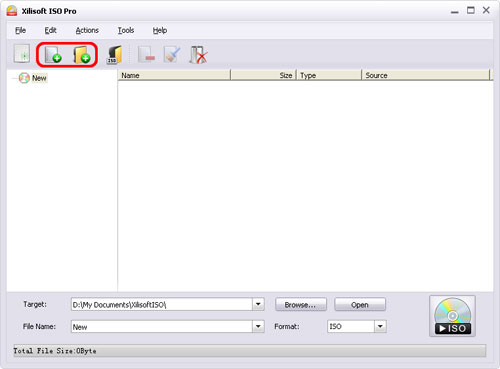
Step 1: Load files
Click "Add File(s)" button on the toolbar or click "File > Add File" to load files you want. Or click "Add Folder" button on the toolbar or click "File > Add Folder" to load folder.
After loading files, you can create folder to adjust the file structure in the image file by clicking "New Folder" button on the toolbar or "File > New Folder" option in the main menu. From the capacity bar at the bottom of the main interface, you can check the total file size.
Step 2: Adjust output settings
Click "Browse" button to specify the target folder to save the ISO image file and enter a file name in the "File Name" box.

Step 3: Start making ISO image
After all above are set, click "Make Image File" button at the right bottom to start making ISO image file.
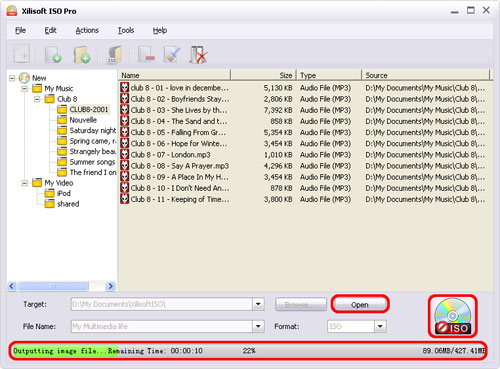
You can check the detailed progress like remaining time, remaining size, percentage completed and so on from the progress bar at the bottom.
After making completed, you can click "Open" button beside the "Browse" button to view the output ISO image file directly.
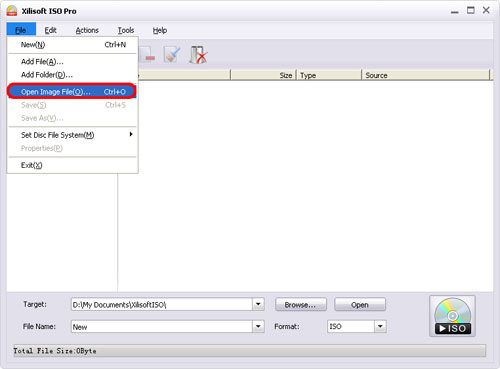
Step 1: Open ISO image file
Click "Open Image File" button on the toolbar or "File > Open Image File" option to load the ISO image file you want to edit.
Step 2: Edit ISO image file
You can add any file in the hard disk to the ISO image file, or delete any file from it, or extract any file in the ISO image file to the local, or do other operations from the right-click menu as below.
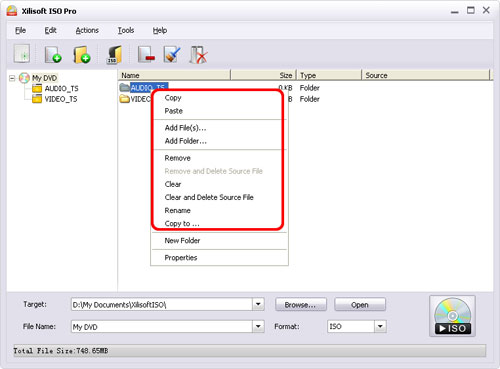
To add file, please click "Add File(s)" on the toolbar or from the right-click menu to add the file you want to the image file.
To delete file, choose the file you want to delete, and click "Remove" on the toolbar or from the right-click menu to delete it.
To extract file from image file to local, right click the file you want to extract, and then choose "Copy to ..." option to save the highlighted file or folder to local disk.
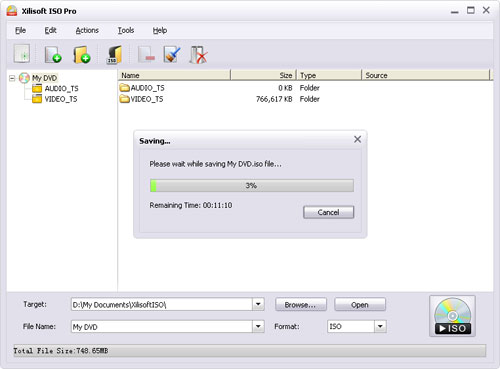
Step 3: Save ISO image file
After editing ISO image file, click "File > Save" option to save the modified ISO image file, or click "File > Save As" option to save the modified image file as a new one.
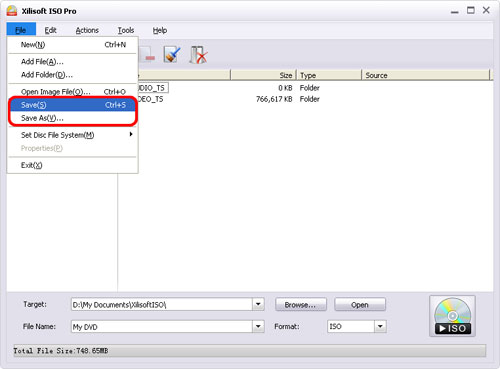
In the saving process, you can cancel the process at any time.